First Setup
Open the site first
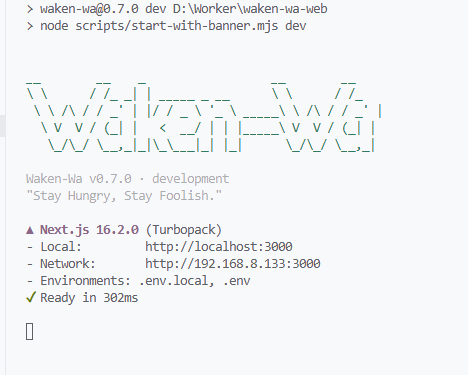
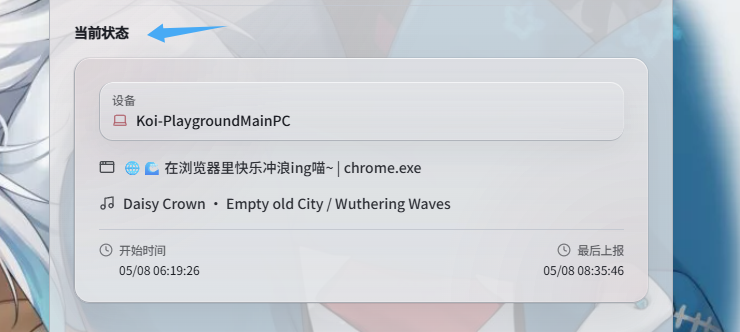
If everything is working, you should see your site configuration at http://localhost:3000.
If you are not deploying locally, use the address shown in the network panel as a reference:
Try visiting the address shown under Network. If it is not reachable, consider setting up a reverse proxy so the service can be accessed.
This guide will not go further into reverse proxy setup, since that belongs outside the core first-run flow.
Some control panels also provide Docker reverse proxy services, which can work fine as well.
Basic setup
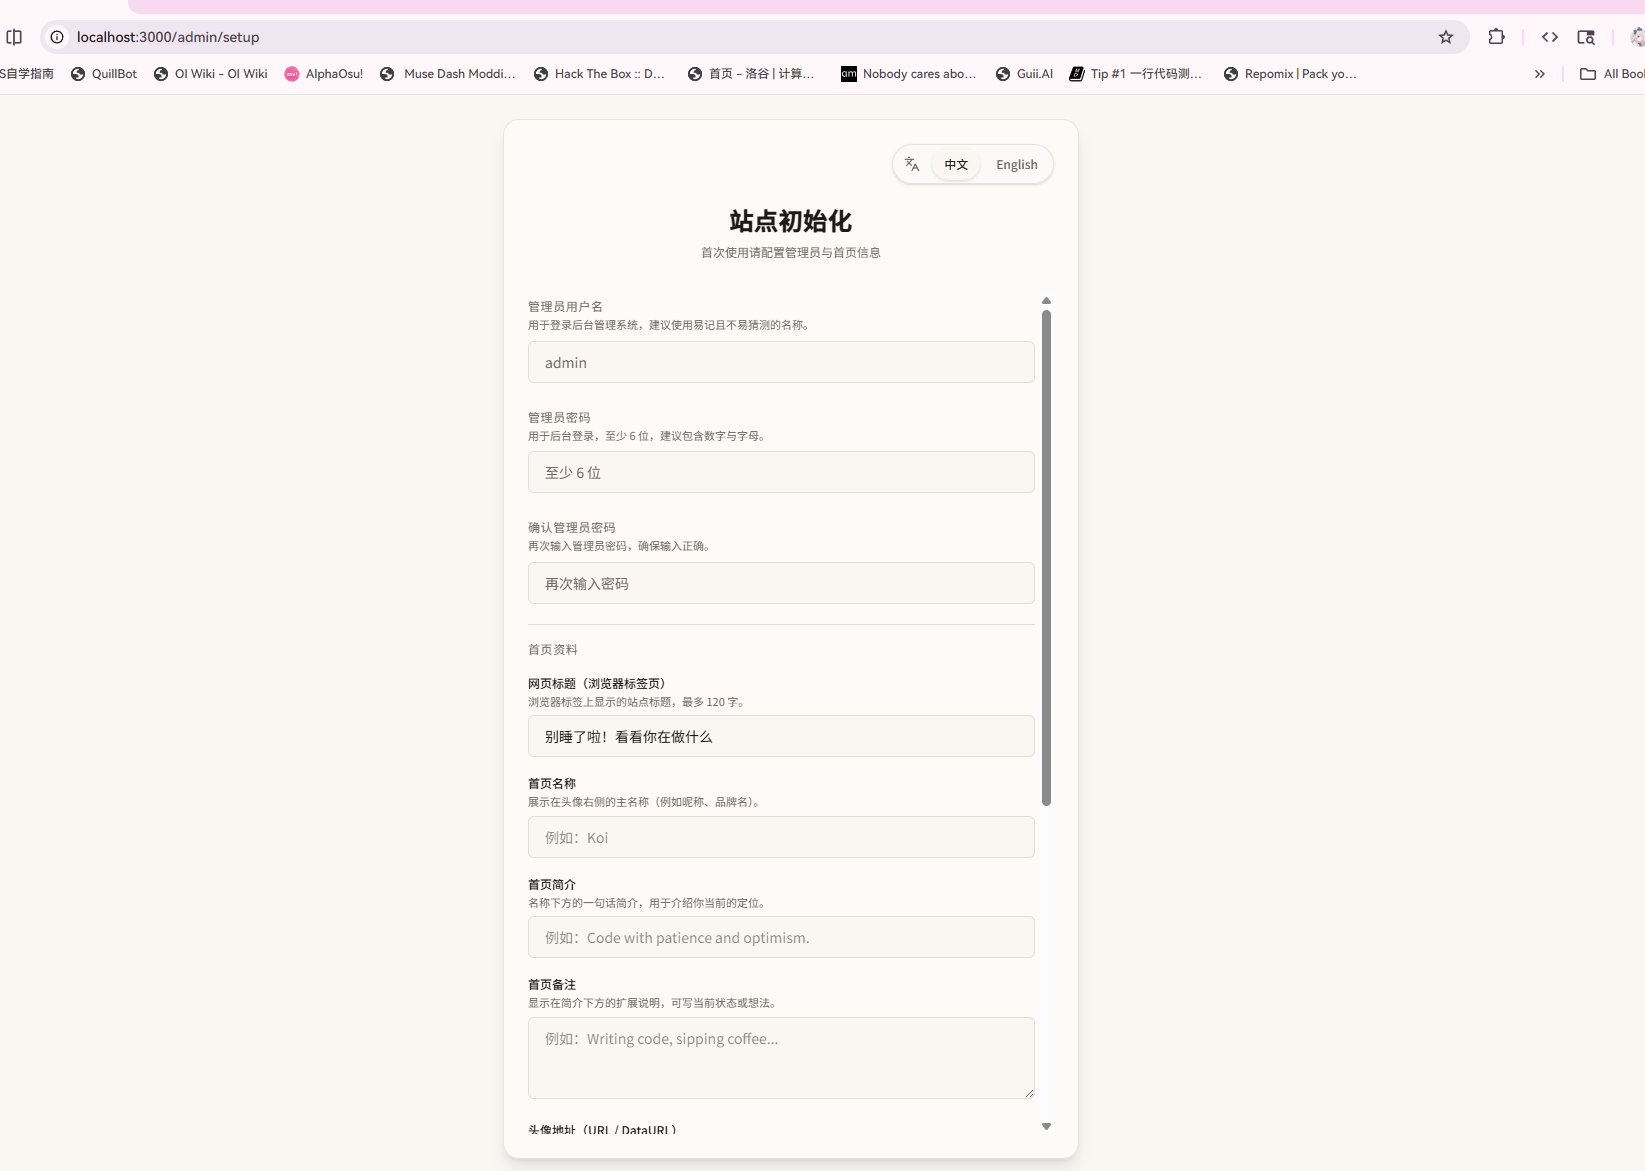
If everything is OK, this is the first set of fields you should see.
Admin information
Start with the minimum required setup: configure the admin information. This becomes the credential you use to log in later, so keep it private.
Use a reasonably strong password that you can still remember. Avoid very simple passwords such as 123456 or password; the setup helper will not accept them lightly.
Homepage profile
Site title
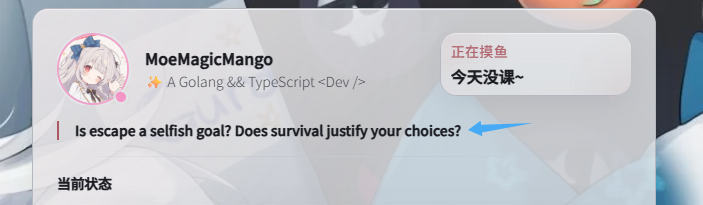
In most cases, this refers to the title shown here:

It also affects search engine indexing:

Homepage name
This is generally the public display name:
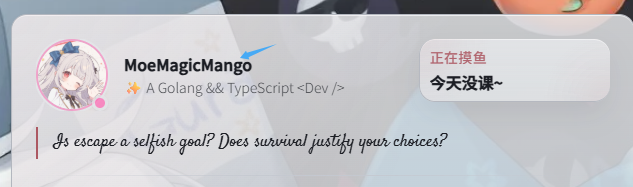
Homepage description
This usually describes your identity or positioning:
Homepage note
This section can be customized manually, or later replaced with Hitokoto in the settings:
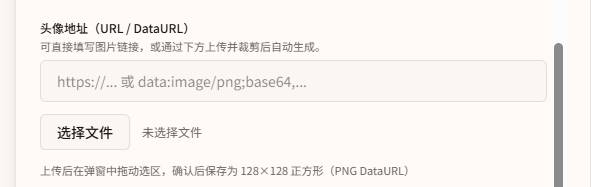
Avatar URL
This field supports avatar sources such as Gravatar / Cravatar. If you have one, paste it here.
If not, you can upload an avatar manually.
- Remote avatar URL detected. Allow the server to fetch the avatar?
This option helps users who cannot directly access remote avatar services. For example, Gravatar may not be reachable from mainland China, and this server-side fetch can work around that.
Other settings
-
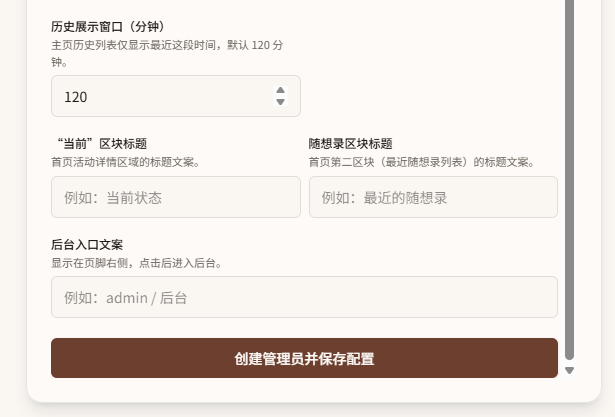
History display window (minutes): the time range in which the public site can show your public activity. It is commonly used by quick activity entry and some API logic. In most cases you do not need to change it.
-
"Current" section title:
This is the text field for that section. You can edit it. It does not automatically change with the language environment.
- Inspiration section title:
This is the text field for that section, with the same display rule as the "Current" section title.
- Admin entry text:
This controls the text shown in that location.
Client configuration
Once the basic section is complete, you can start configuring the device-side client.
Download the required client here:
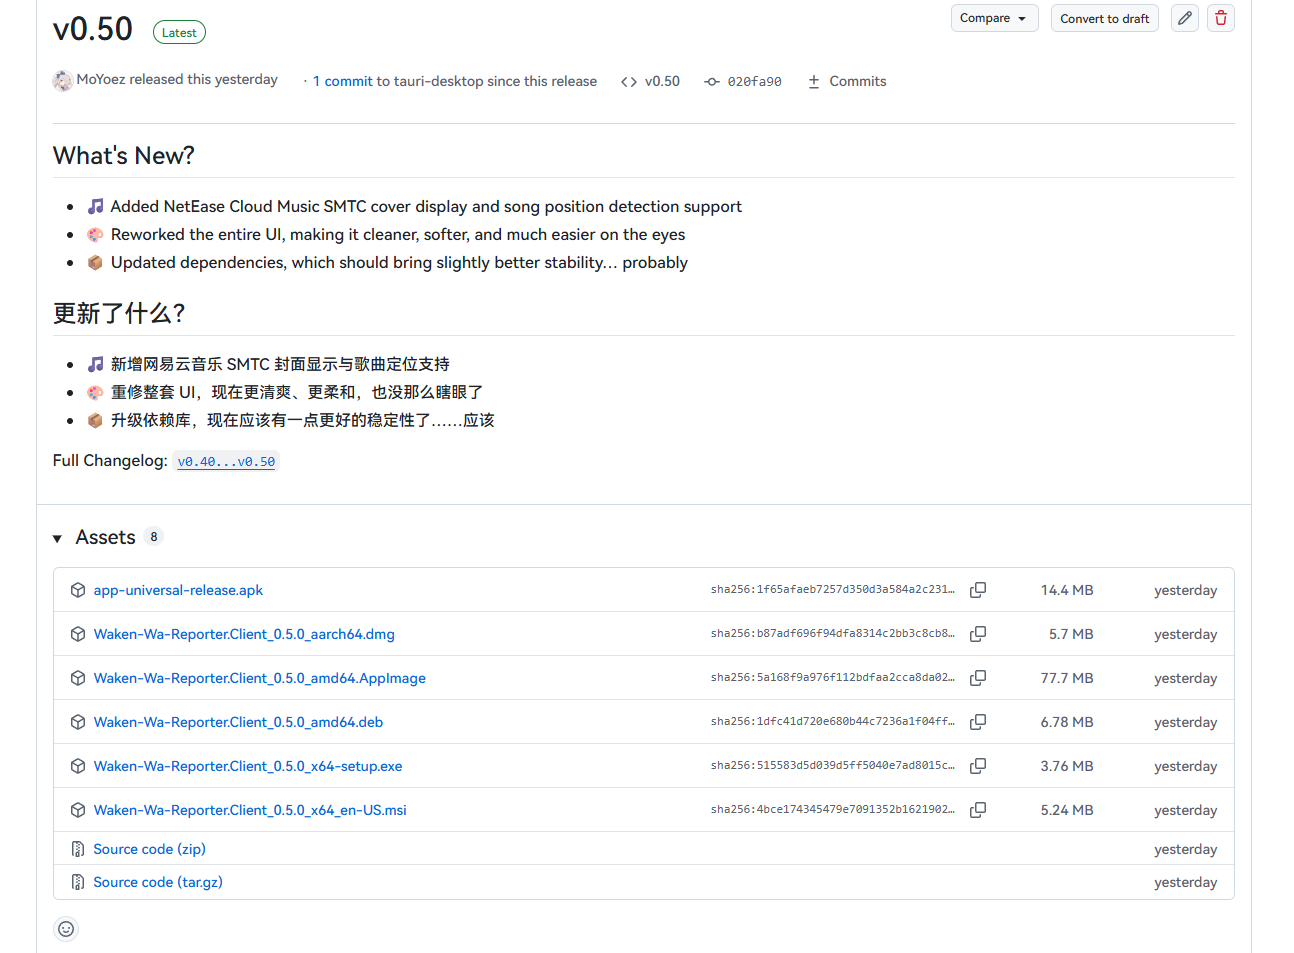
In general, only the PC client supports full sync. Other platforms are limited for now; Android can do basic app-usage sync.
Most of the time:
x64-setup.exe/x64_en-US.msiare for Windowsamd64.deb/amd64.AppImageare for Linuxaarch64.dmgis for macOSapk/jsare usually for Android, but support is not complete. You can download the Auto JS version for sync
The remaining steps use Windows as the example:
On macOS, the app may be reported as damaged on first launch. Run sudo xattr -c in Terminal, then drag the app into Terminal to complete the path.
On first setup, the app may default to English. Use Maybe Later -> Setting to change the language, then restart.
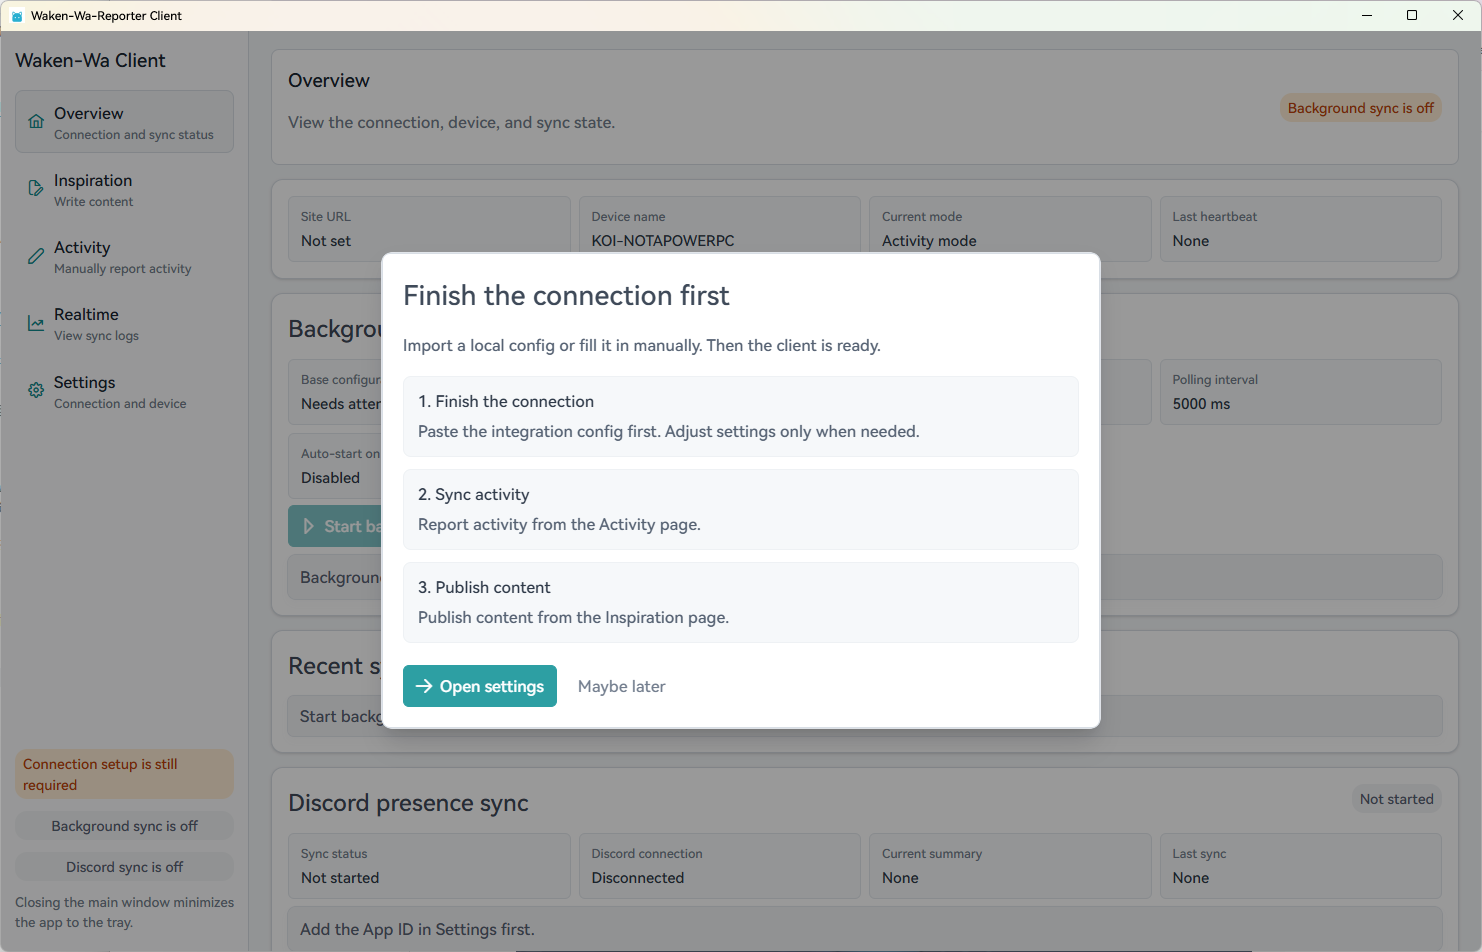
Open settings. The client will ask for Base64 configuration information.
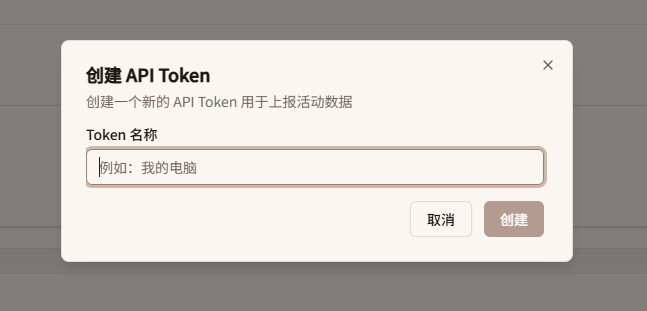
At this point, generate an API token from the web admin panel that is allowed to access the service.
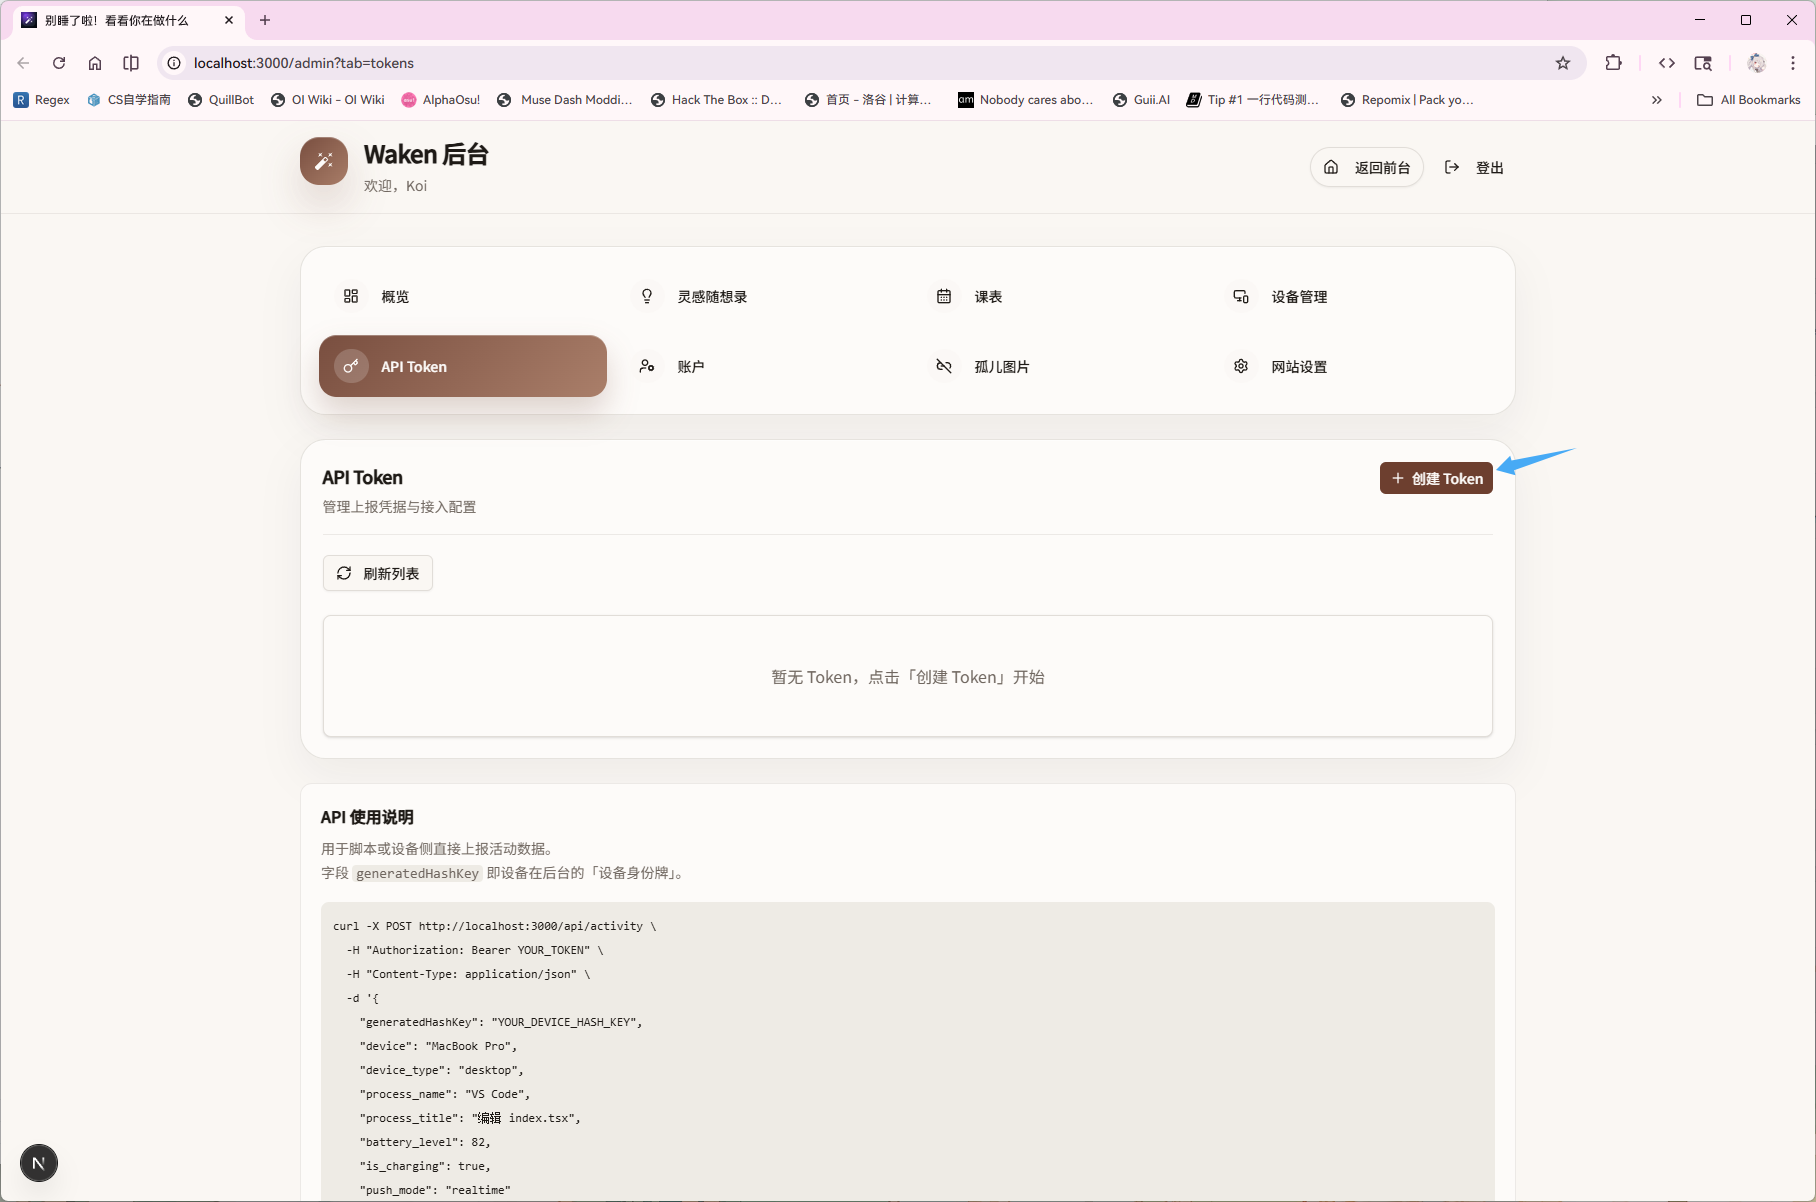
Use a token name you can recognize.
You will usually receive two values. In most cases, the one-click access configuration is all you need.
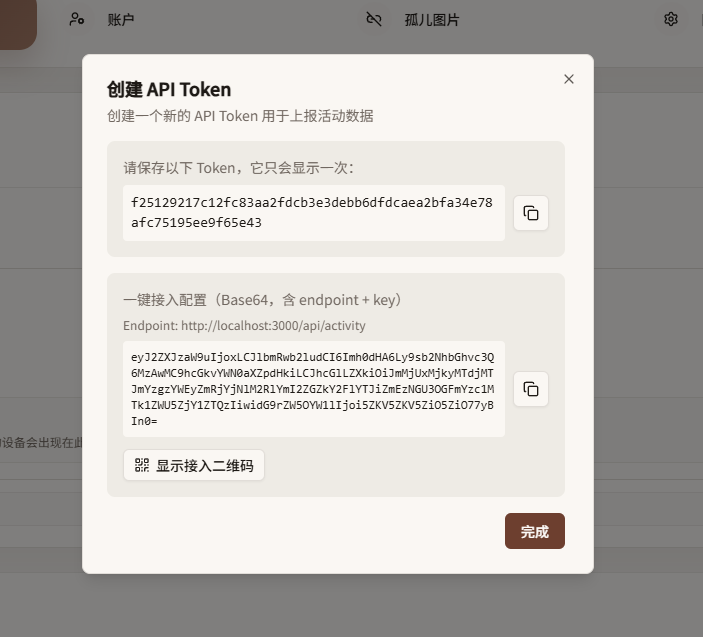
Return to the client and paste the configuration here.
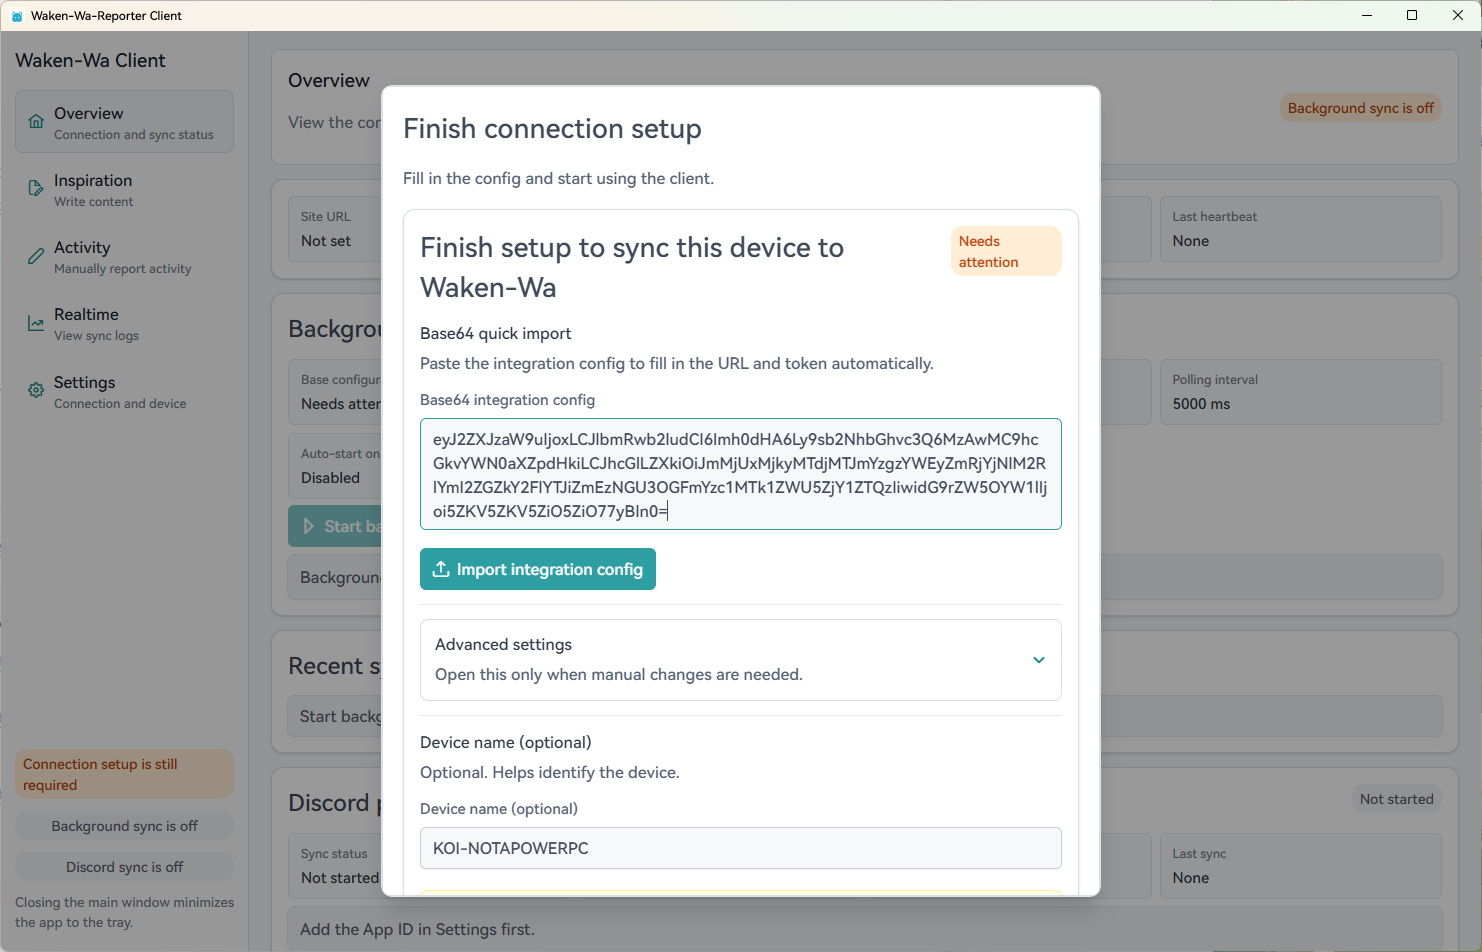
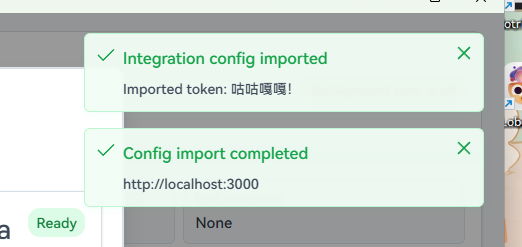
If this popup appears, the setup is generally fine. Complete the flow.
Extra: platform check
This mainly matters for non-Windows platforms.
Because each platform is implemented differently, platforms other than Windows need different handling.
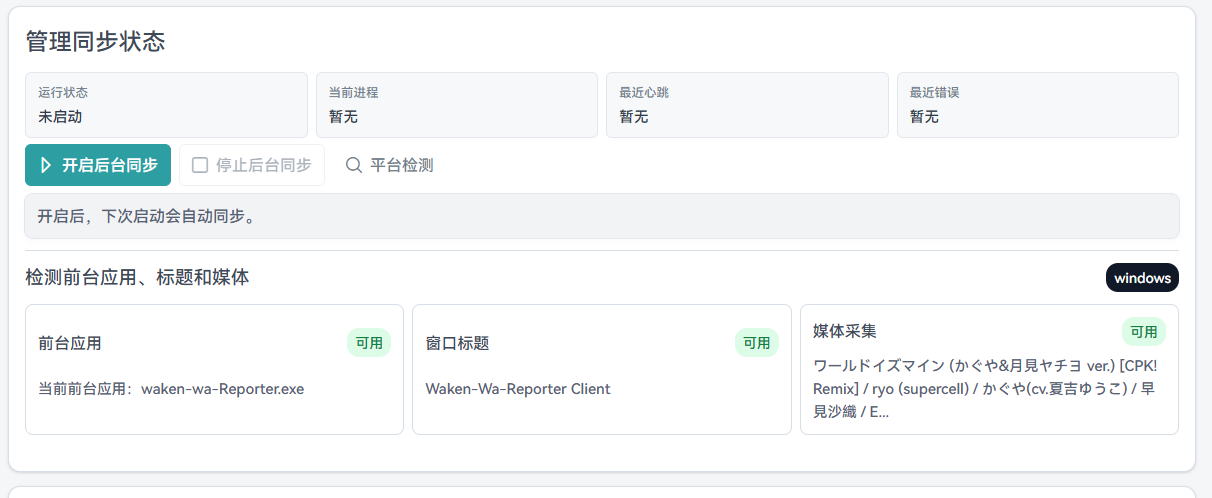
You can verify whether everything works through Reporter Settings -> Manage sync status -> Platform check.
macOS
On macOS, window title capture uses axuielement_h. This requires accessibility permissions. You need to grant accessibility permission, otherwise most apps cannot provide titles.
v0.60+ uses a bridge to call Objective-C through mediaremote-adapter. This may include breaking changes. If you care about security details, review their project first.
Before v0.60, nowplaying-cli is required for song information.
After these steps, most macOS setups should work.
Linux
- Audio
Audio is implemented through the mpris library. Install it through your distribution's package source.
- X11
For any X11 desktop, no extra action is needed to capture desktop content.
- Wayland
Currently only KDE and GNOME are supported.
- GNOME: uses
Focused Window D-Bus - KDE Plasma: uses
kdotool
GNOME
Preferred support:
- GNOME Shell extension Focused Window D-Bus
gdbus
KDE Plasma
Preferred support:
Enable the device
After clicking allow, the device usually needs approval in the specified location.
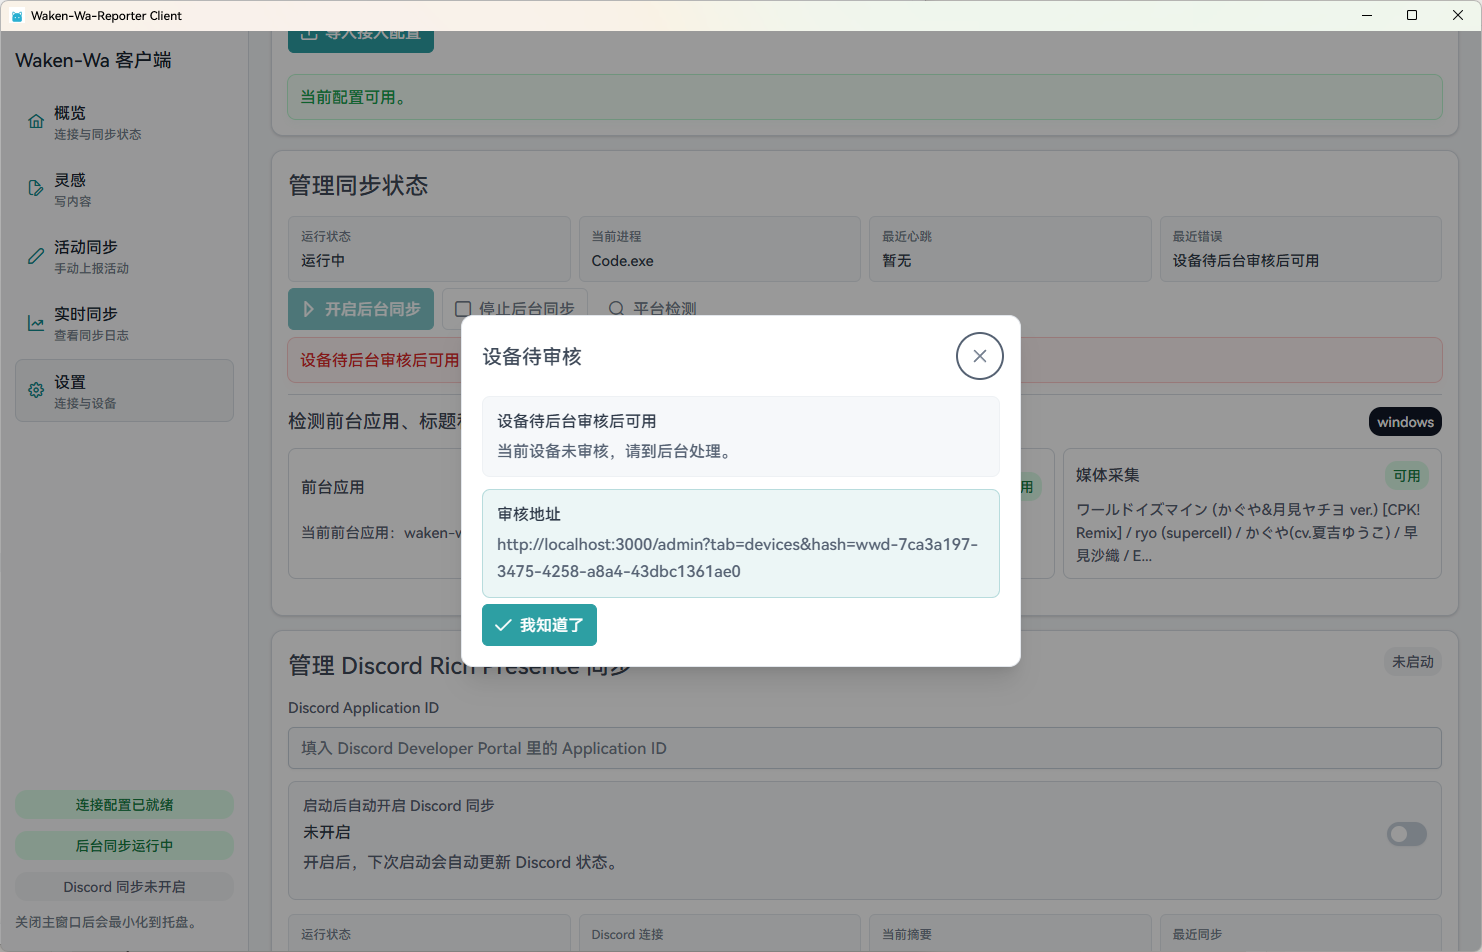
You can approve it through the link, or from the device management page.
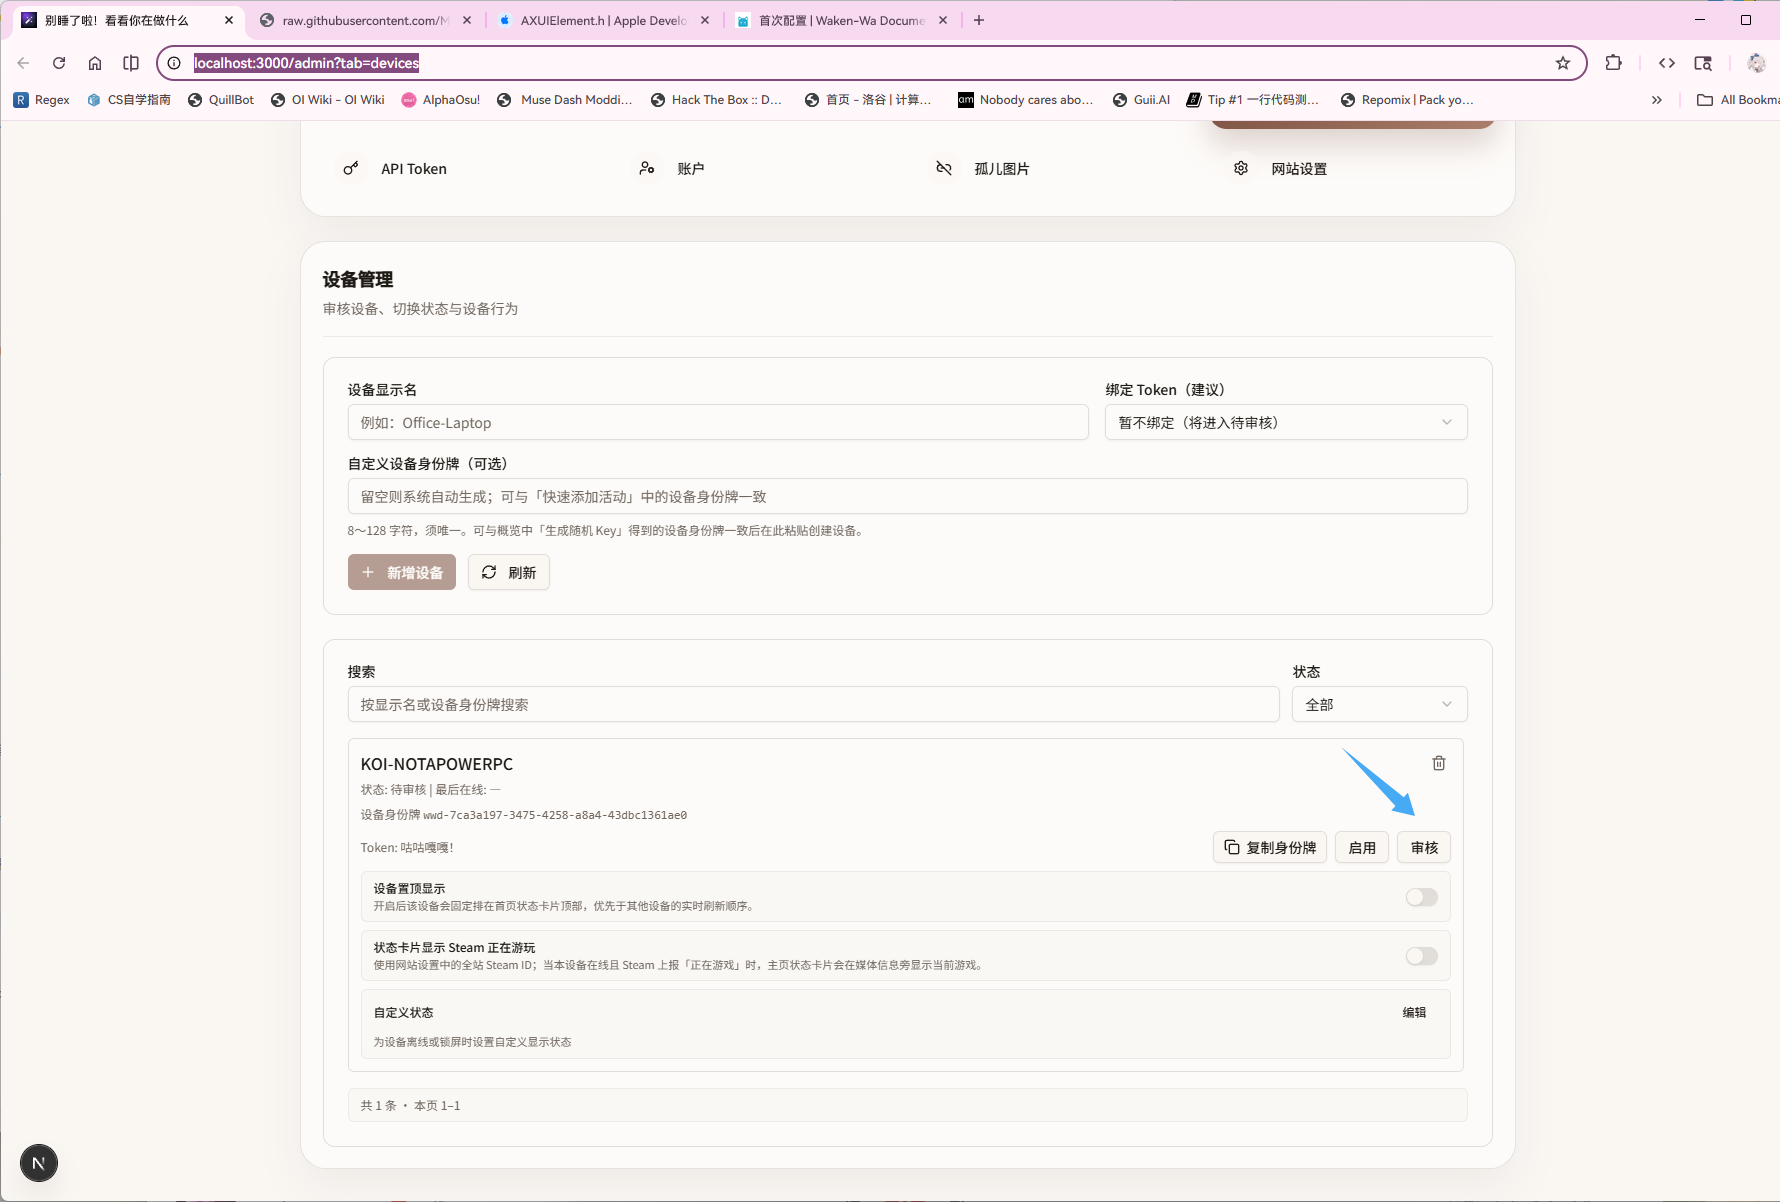
Devices that require approval usually show this button. Click it.
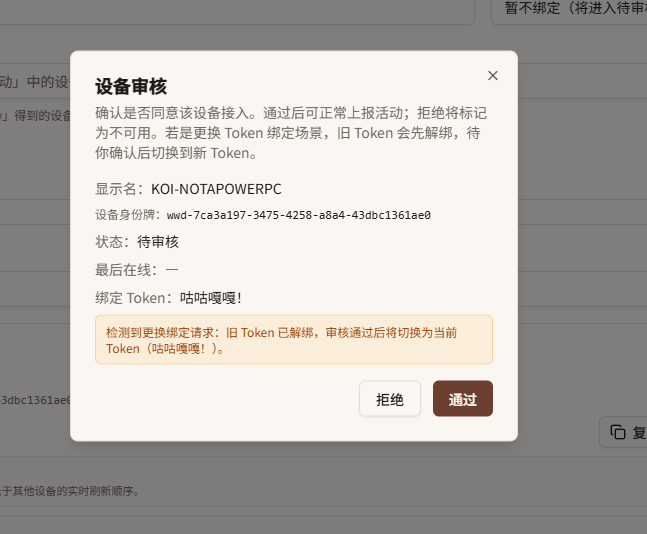
Compare the information. If it looks right, approve it.
Congratulations!
The first basic step is complete. You can now move on to other settings.